

Builder Bundle - Grid + Letter Builder
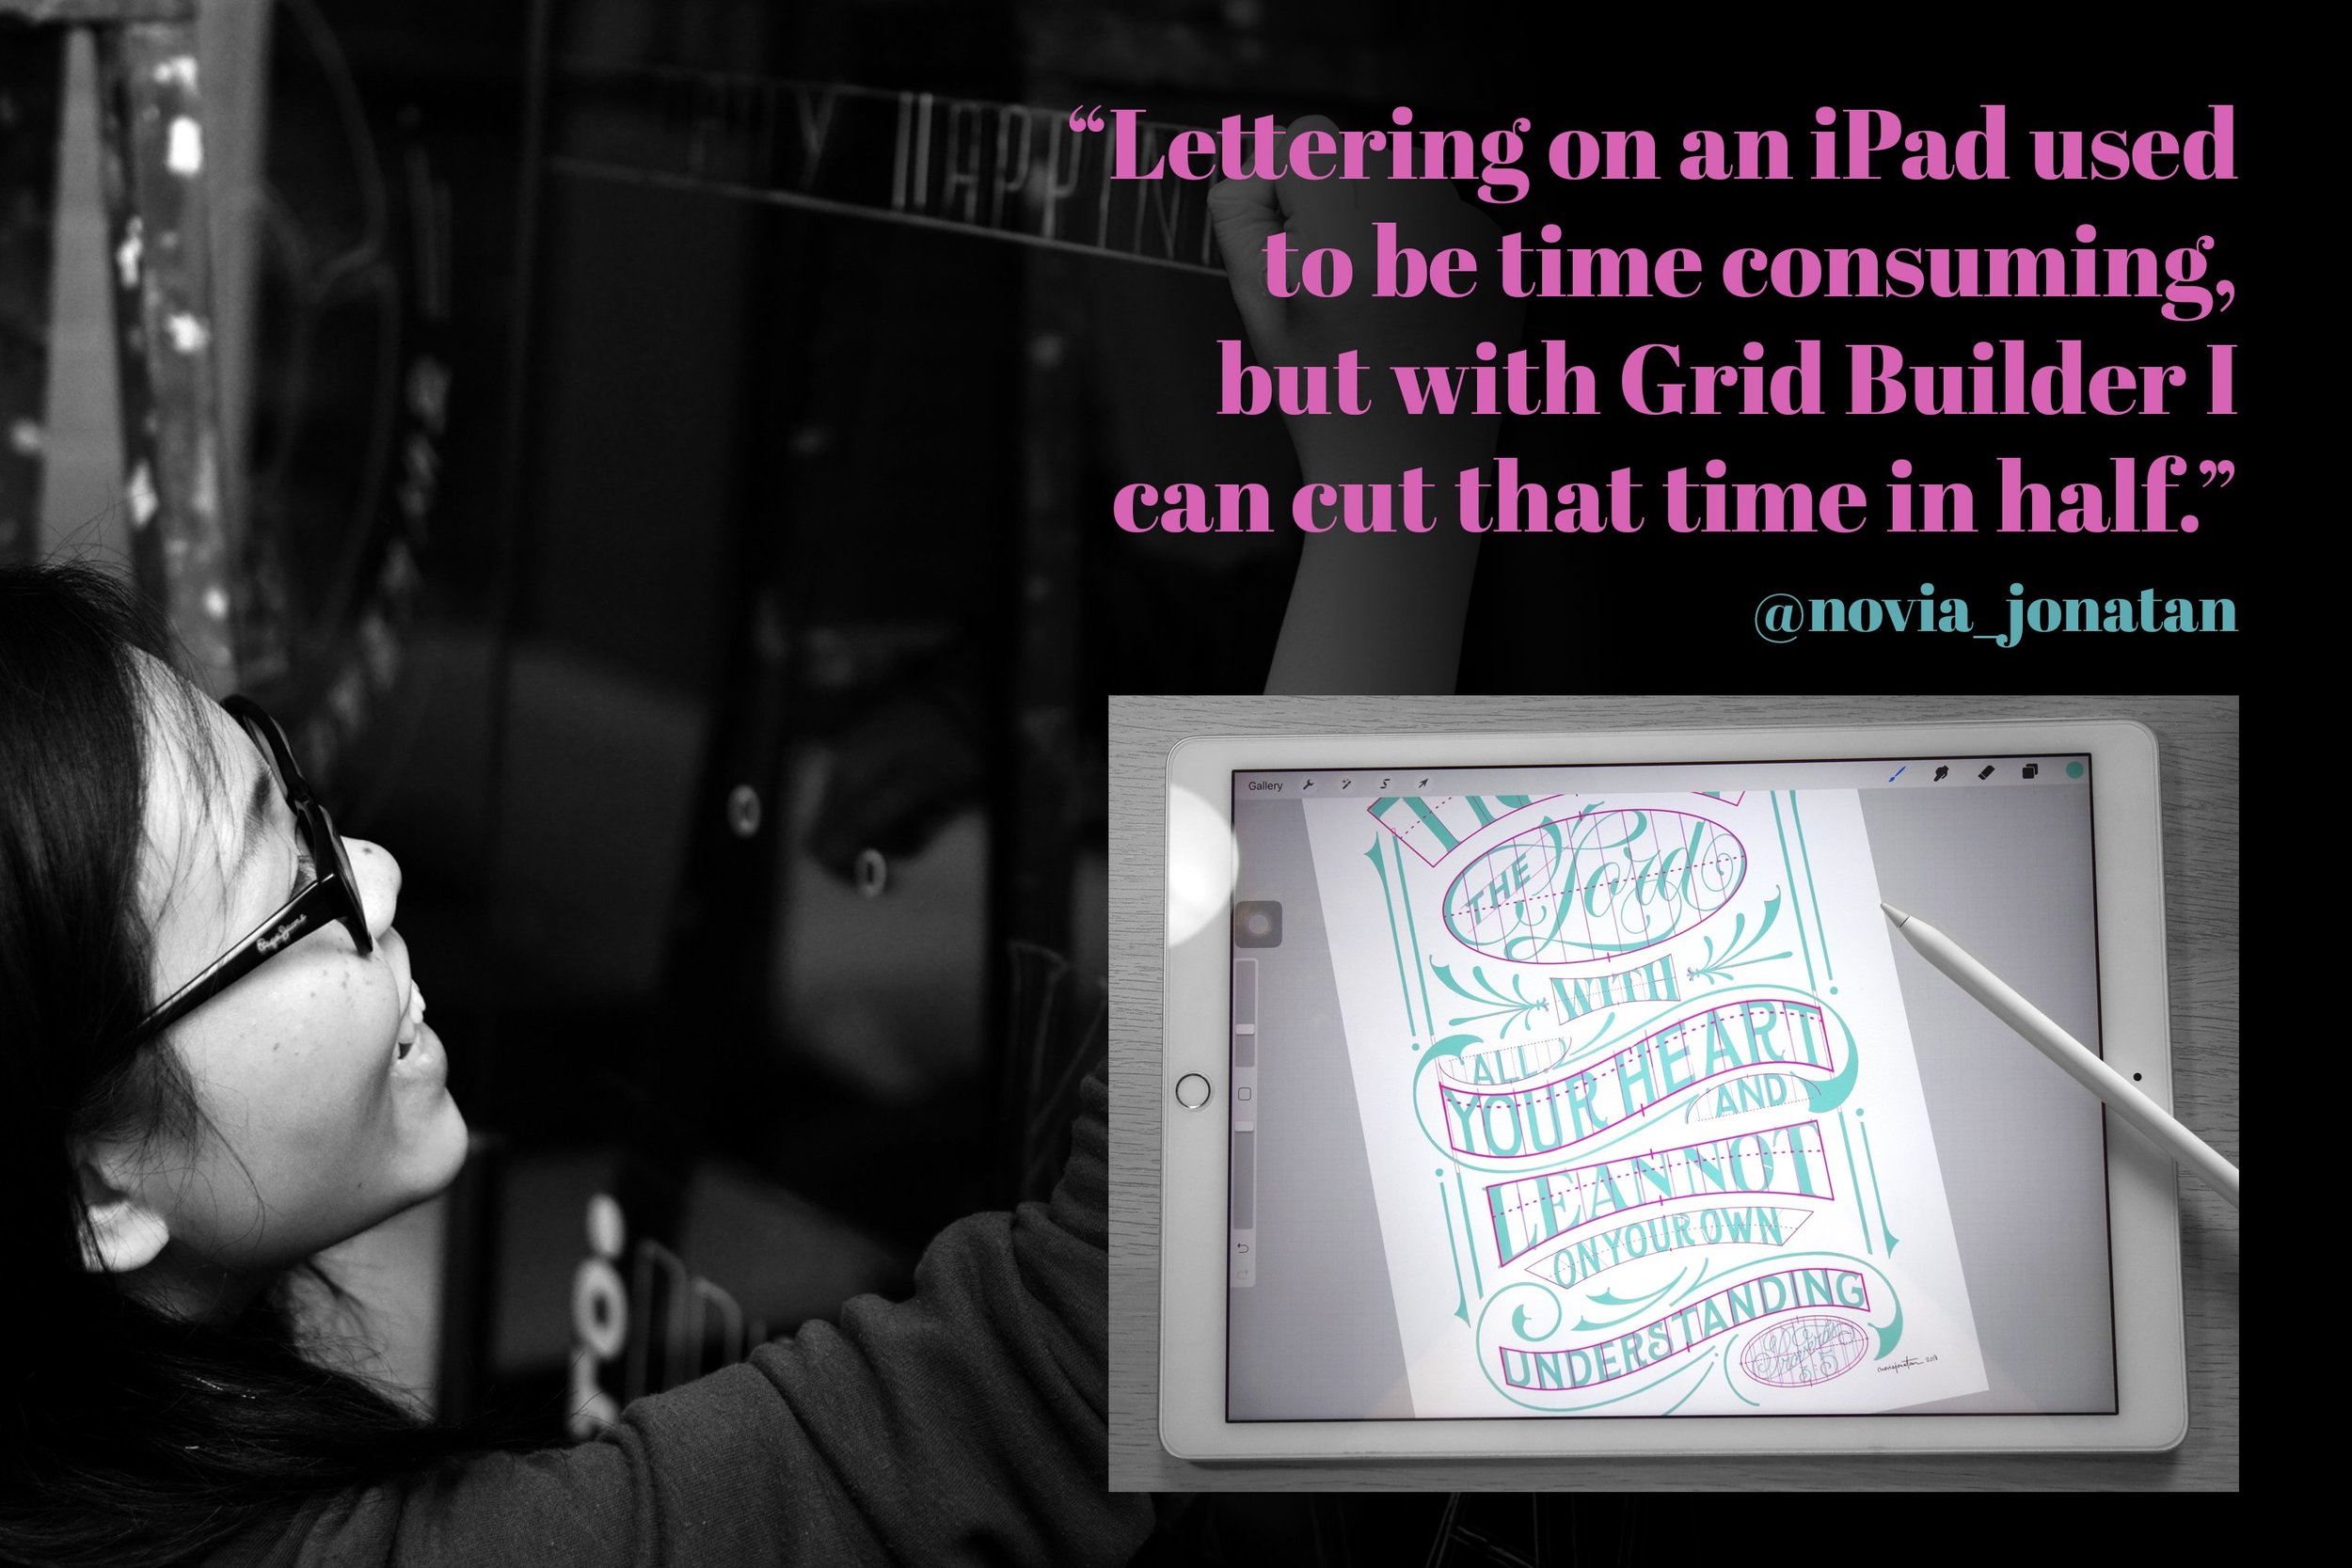
The Builder Bundle - Lettering with ease
Think of it as PB&J for you lettering, or cheese and wine, salt and pepper. Simply said, it’s the perfect combo of tools to help step up your lettering or just make it a lot easier.
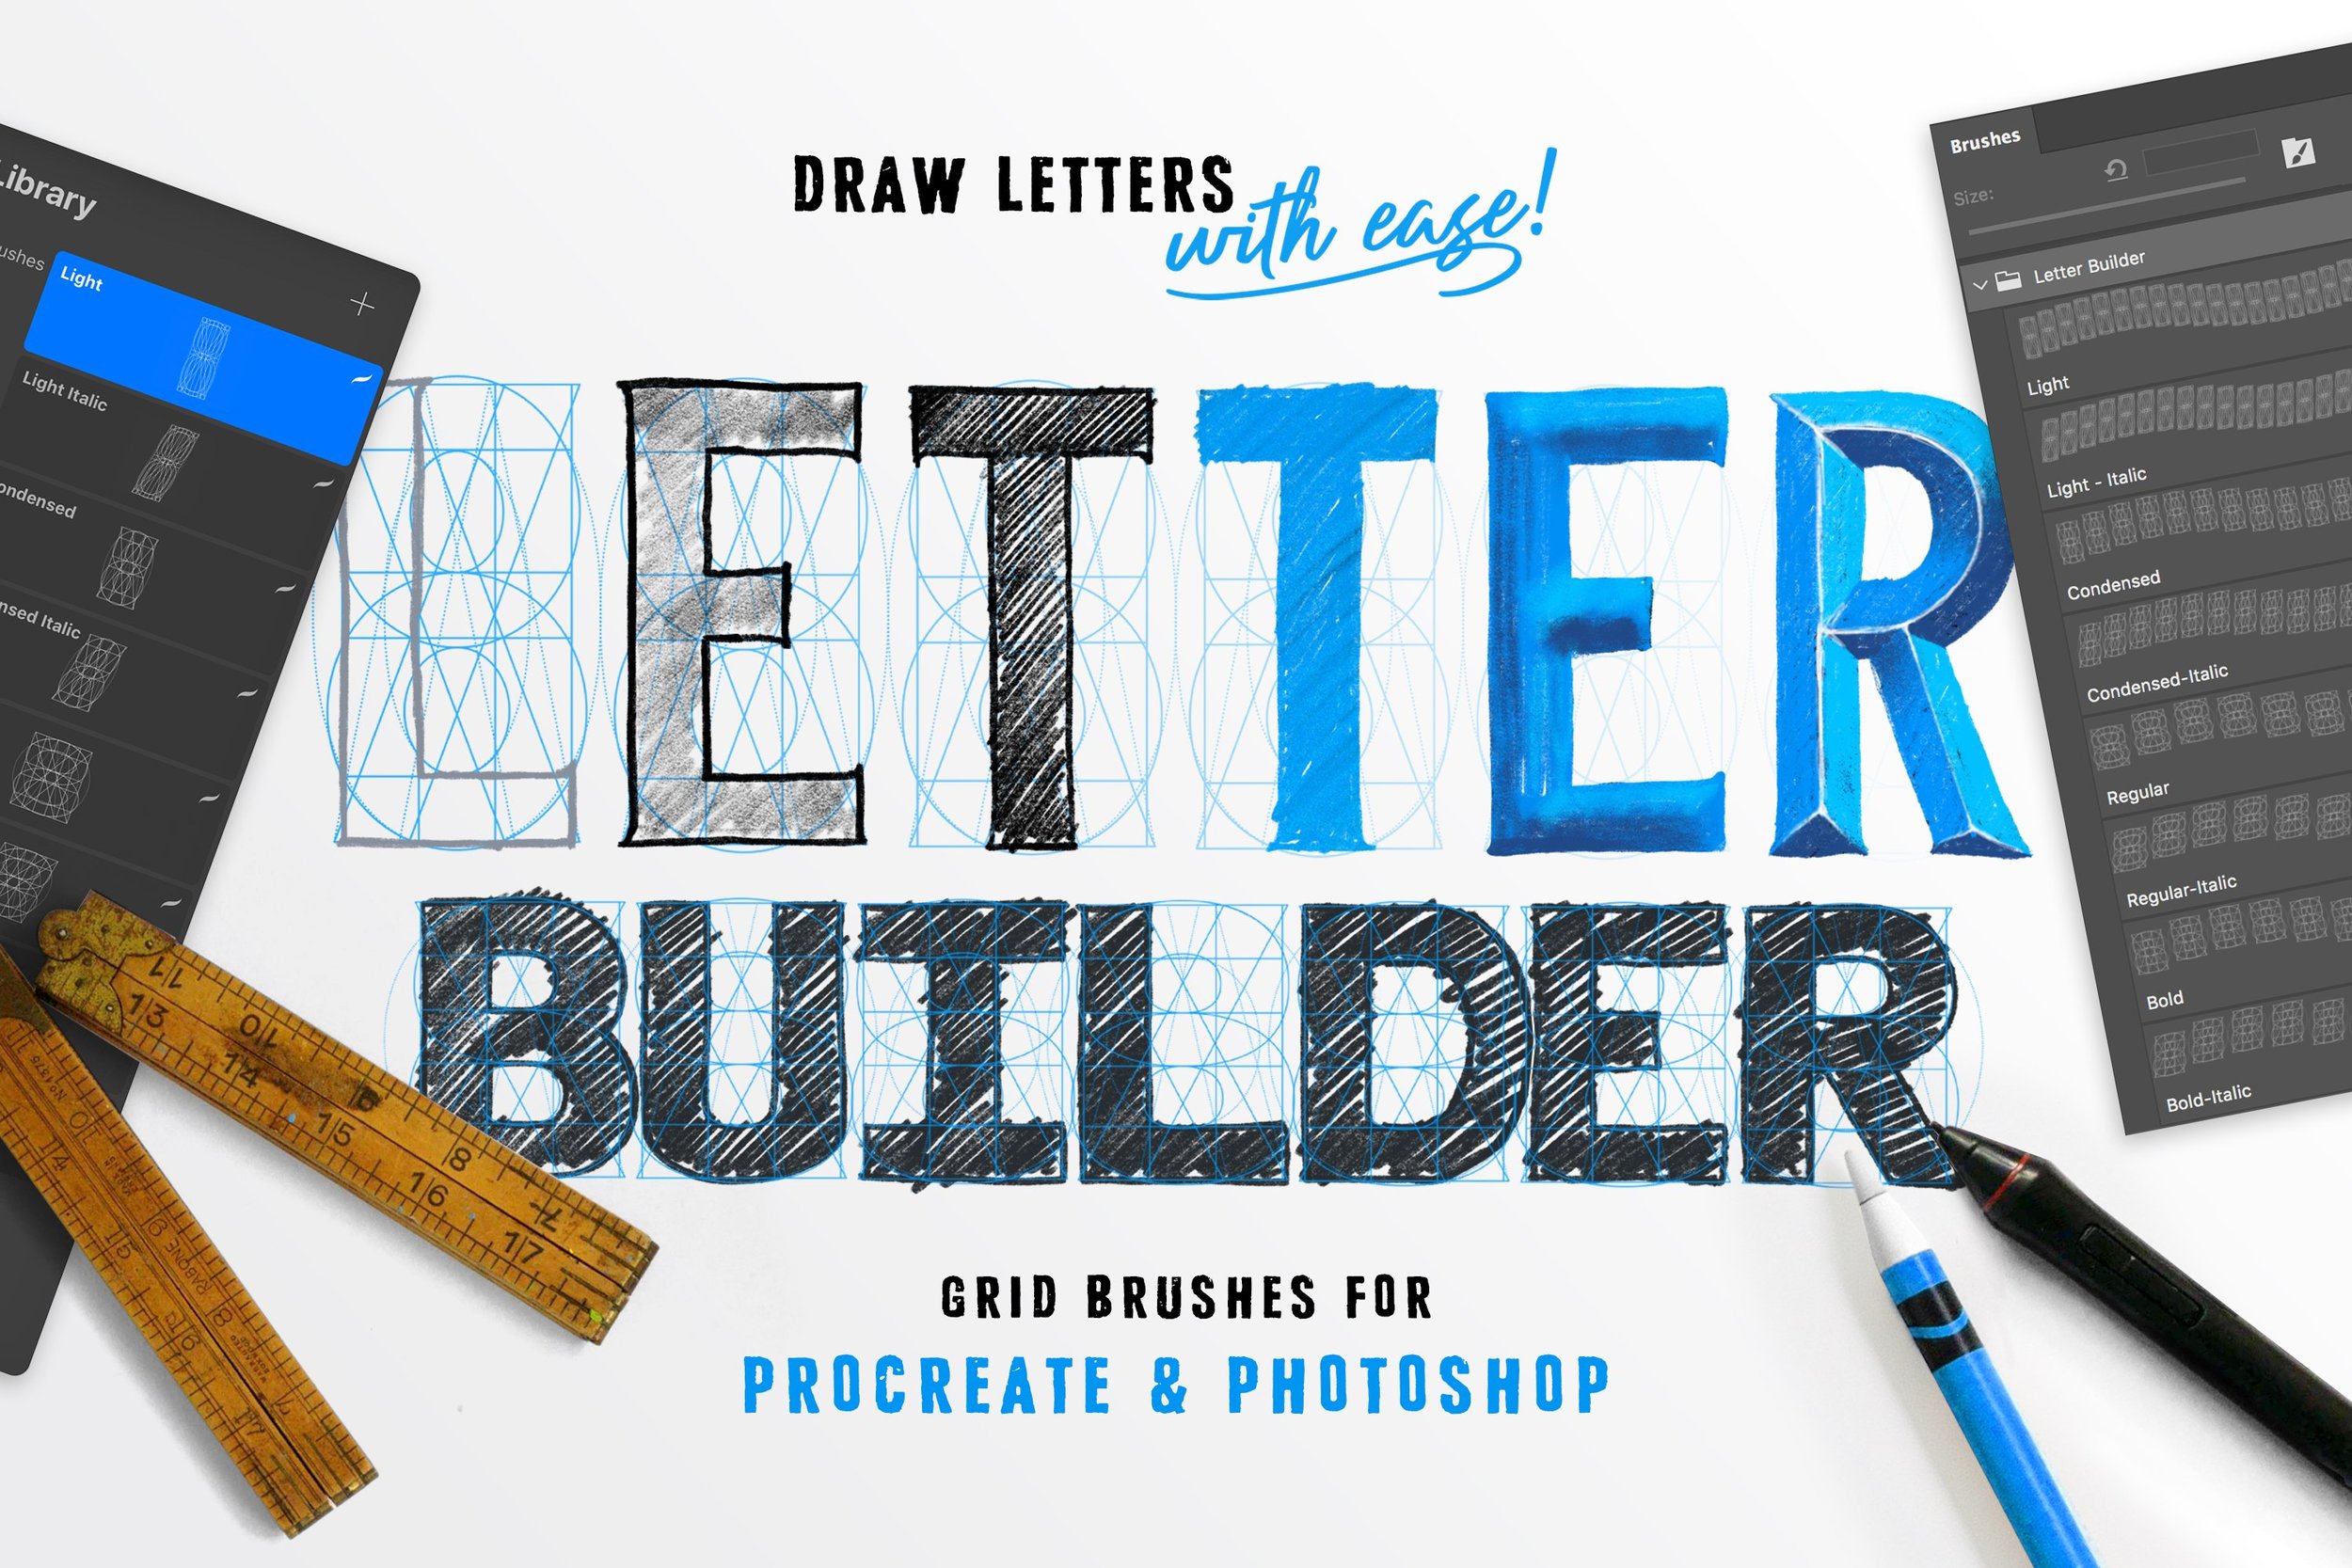
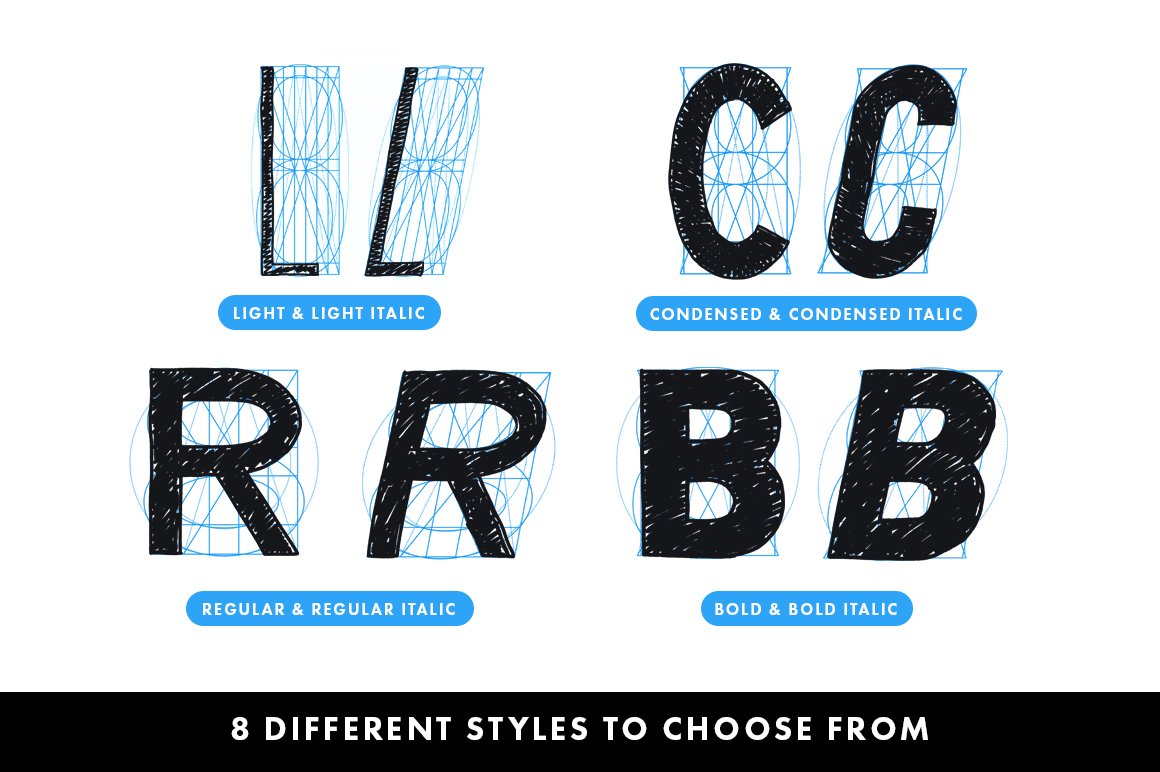
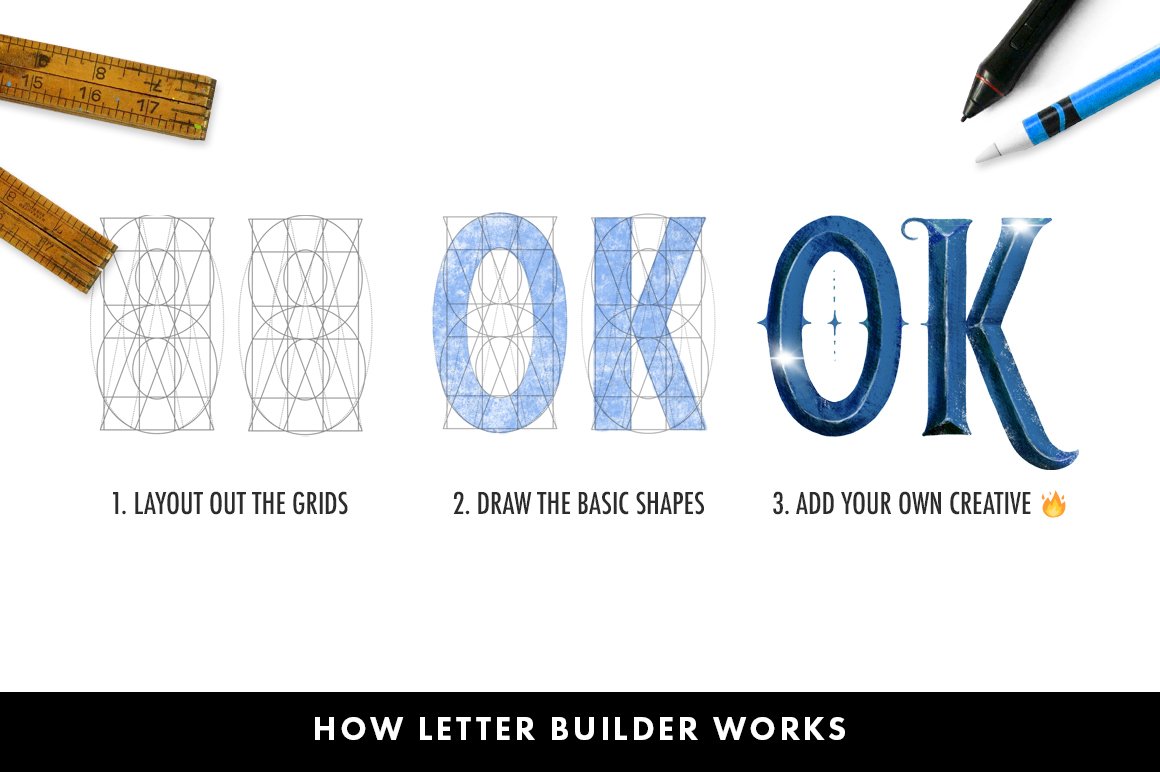
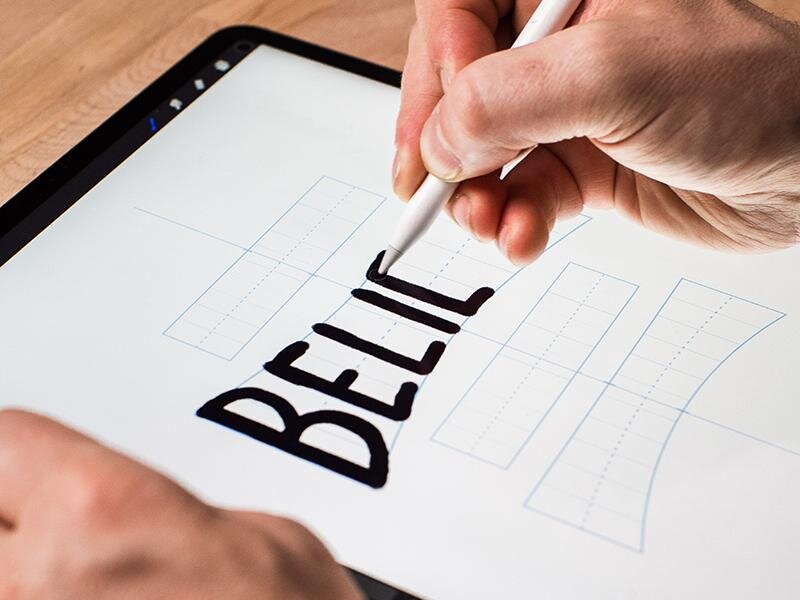
The Letter Builder makes drawing consistent letters as easy as following a line.
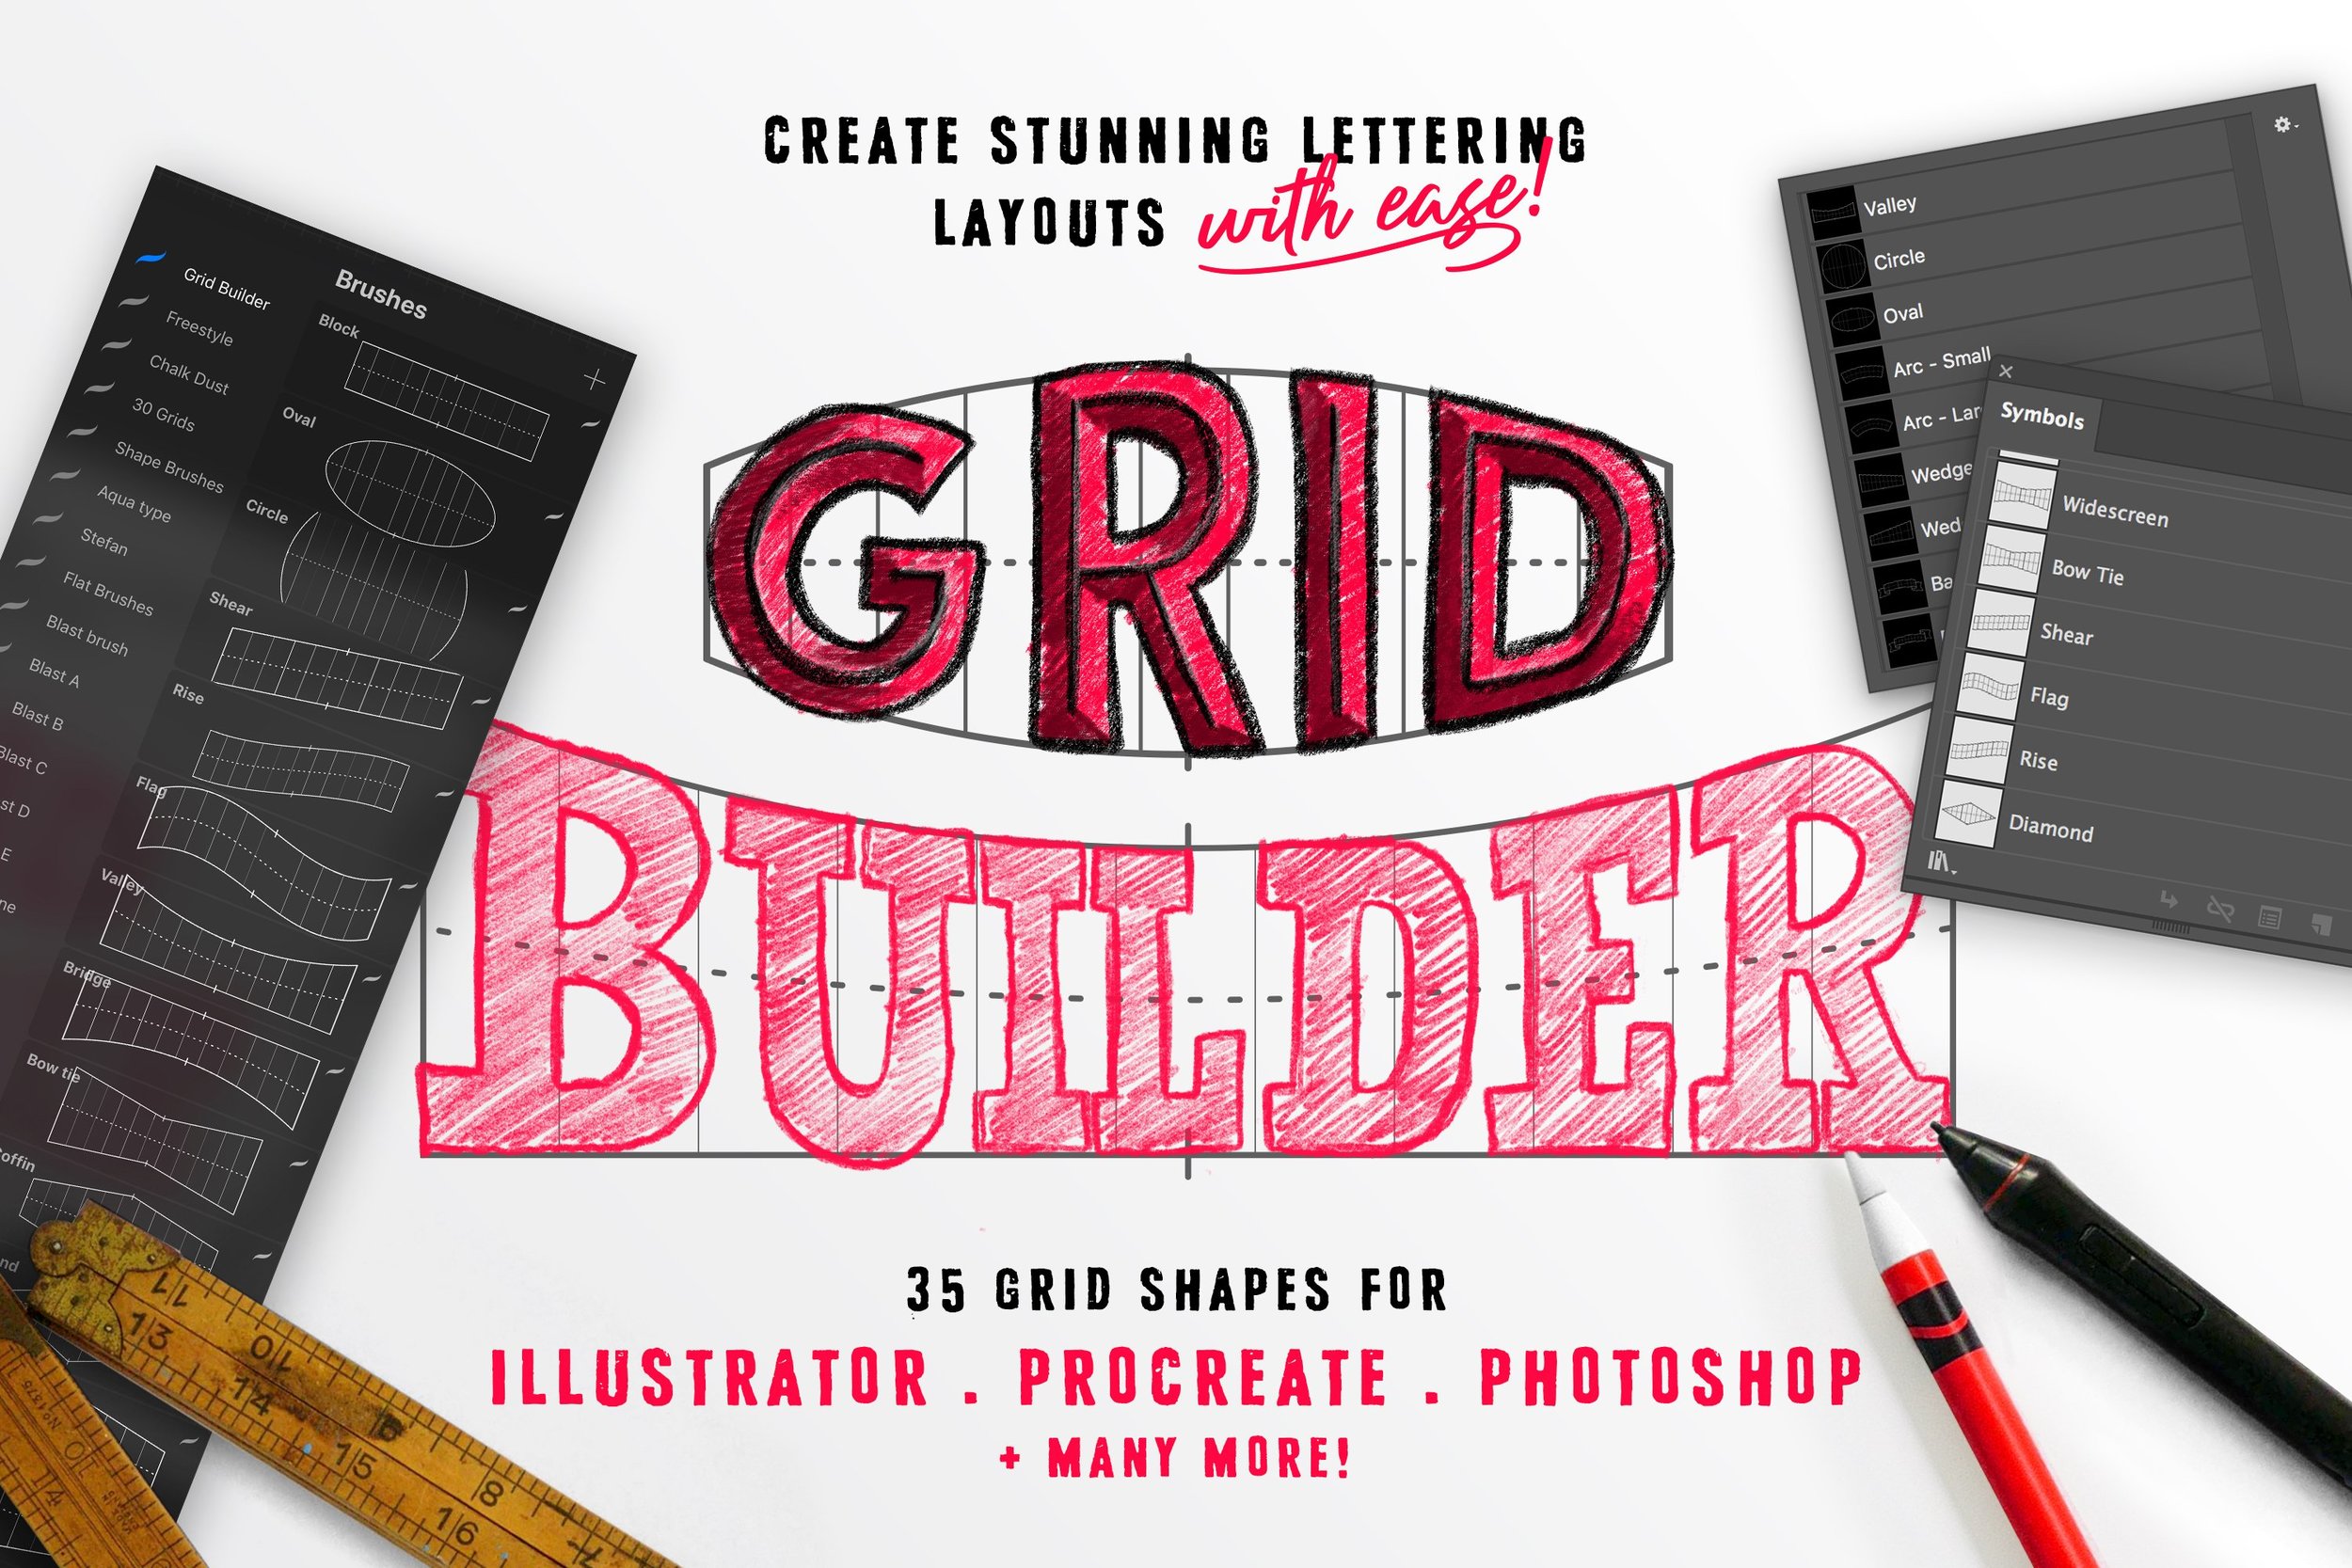
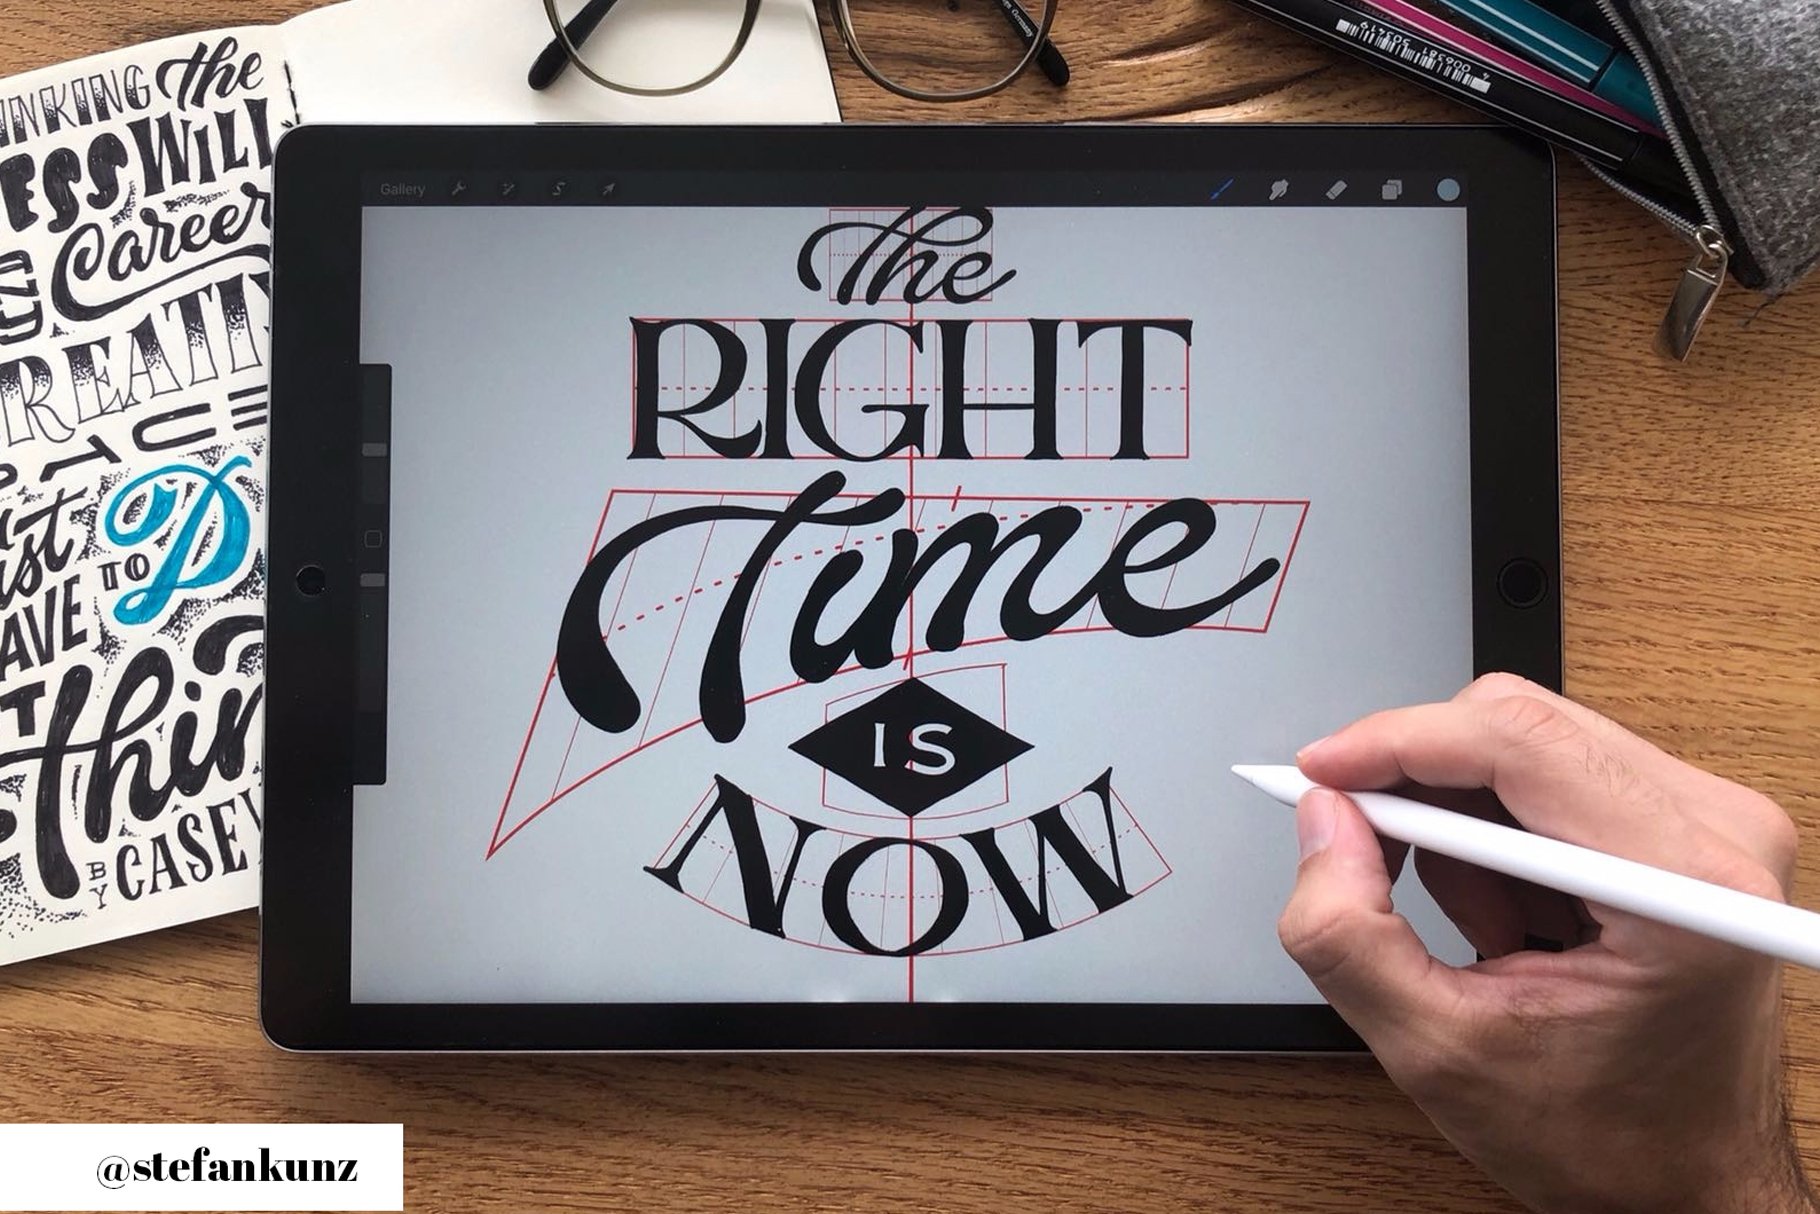
The Grid Builder helps you create stunning composition easier with 35 different shapes to put together just like a puzzle
What's included:
Grid Builder + Letter Builder (for more details visit the product in the shop)
Download:
Save the zipped file to your desktop, uncompress it and then add the items to your iCloud drive to be able to access on your iPad. If you are downloading straight to your iPad then install the free app "FileExplorer Free" onto your iPad first, then you'll be able to open the zip file. Make sure to use Safari as Chrome won't let you download a zipped file! For further instructions on how to get it all set in procreate, follow this link:
How to install Procreate Brushes on your iPad – A simple step by step guide
NOTE: The download link is only active for 24 hours due to Squarespace shop constraints. New Link can be sent.
Should you experience any problems not found within these instructions then please to reach out to me via my contact form.
Thanks, Ian & Stefan
This is your quick start guide to Grid Builder for Procreate.
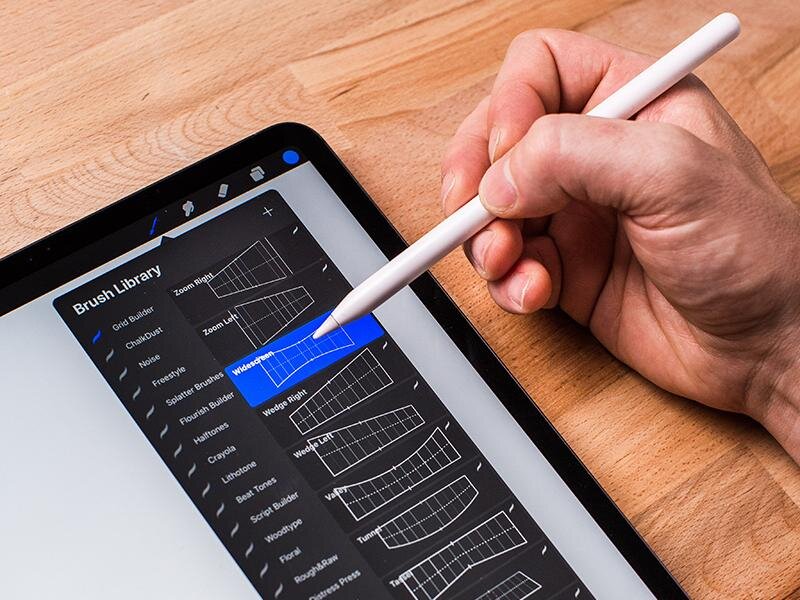
1. Select 1 of the 35 brushes from the Grid Builder folder. Tap on the canvas to place it. If too large for your canvas, adjust the top brush size slider.
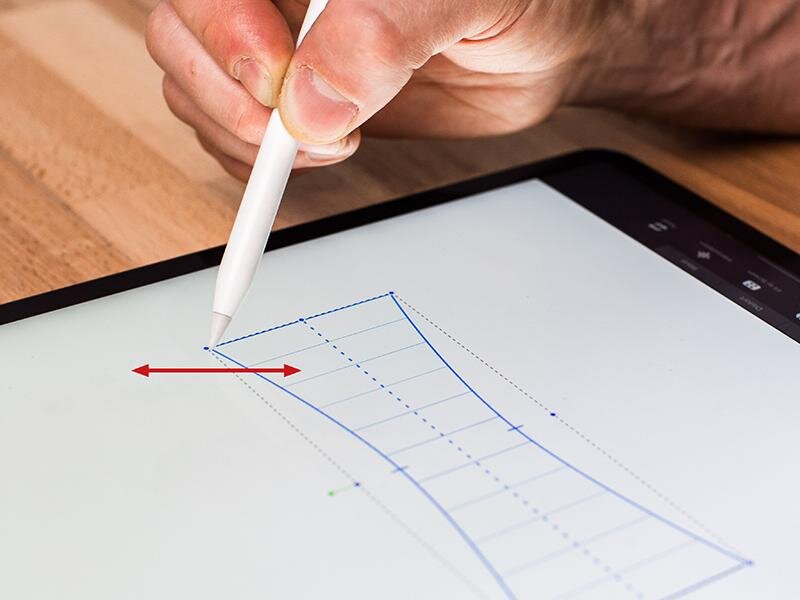
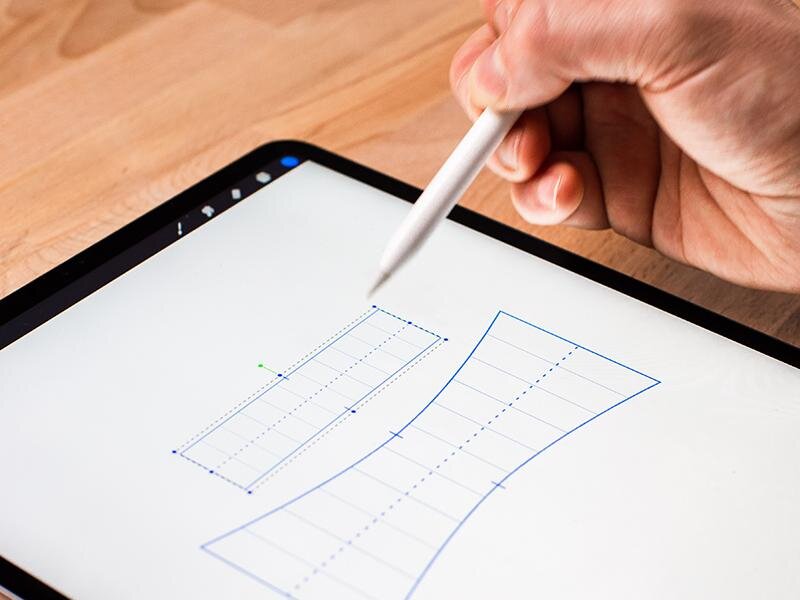
2. Tap on the canvas to place a Grid. To move or adjust the size, click on the Transform tool and drag out any of the corner points.
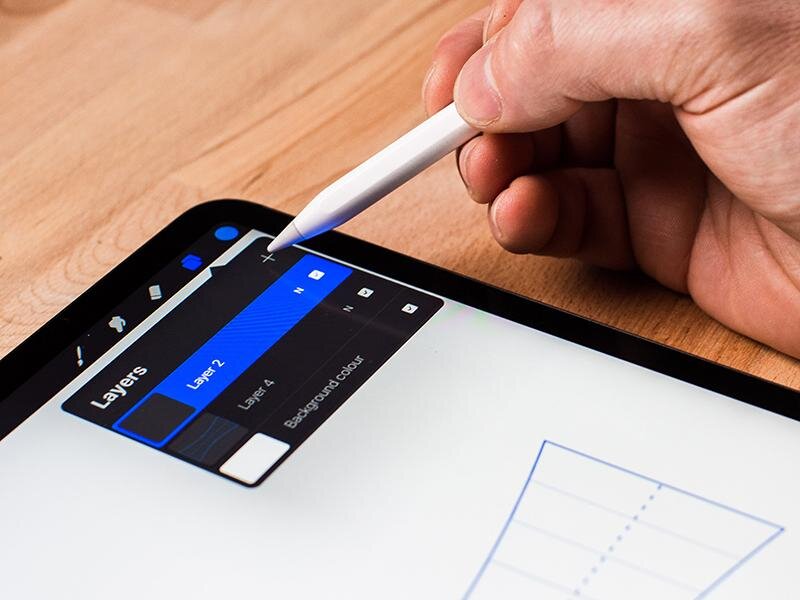
3. Create a new layer for each individual Grid. Do this by opening the layers panel and clicking on the plus icon.
4. When stacking your Grids, emphasize certain parts by making them larger.
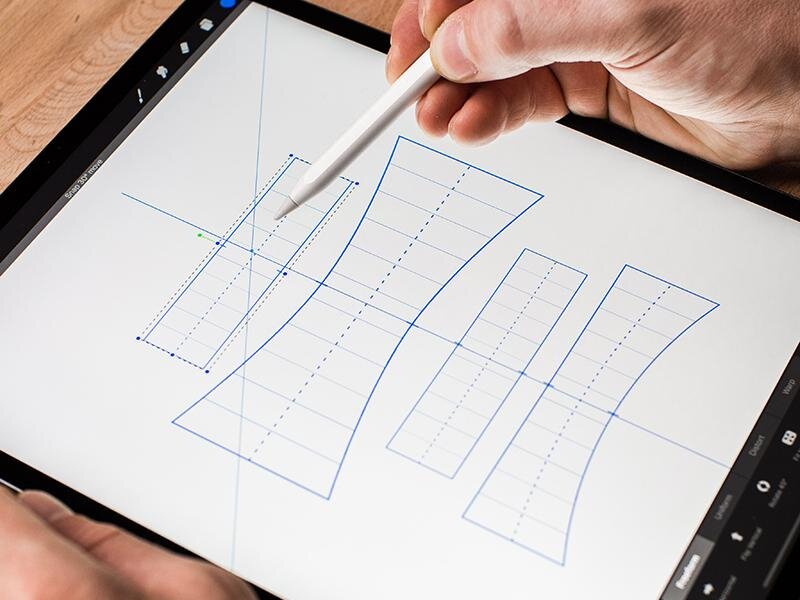
5. Help keep your lettering piece balanced by drawing a straight line down your canvas and use it to align each Grid using the top and bottom markers.
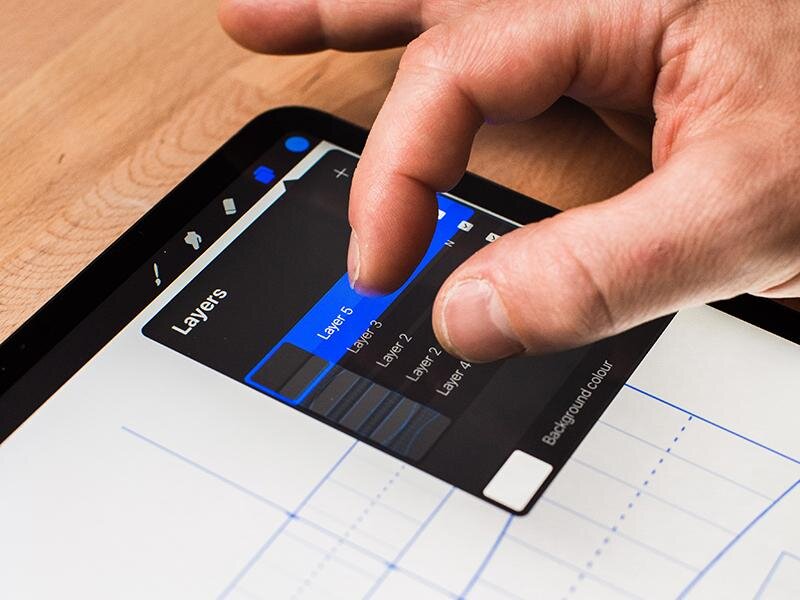
6. Once you’re happy with your layout, pinch together all the Grid layers to flatten it. Reduce the opacity of the flatten layer by clicking on the ‘N’ symbol.
7. Start sketching inside the Grids. Put each word on a different layer helps you to edit it later on. Keep refining till you’re satisfied.

8. Use simple shapes like dots, drops, stars and leaves to fill the space around words to balance out your design.
